How to Deploy Node Express API to an AWS EC2 Ubuntu Instance
WWYL (what will you learn):
- Host a NODE API on AWS EC2 instance
- Access NODE API from a web application
Pre-requirements:
- Node Express API in a GitHub repository
- AWS account (free tier available at aws.amazon.com/free)
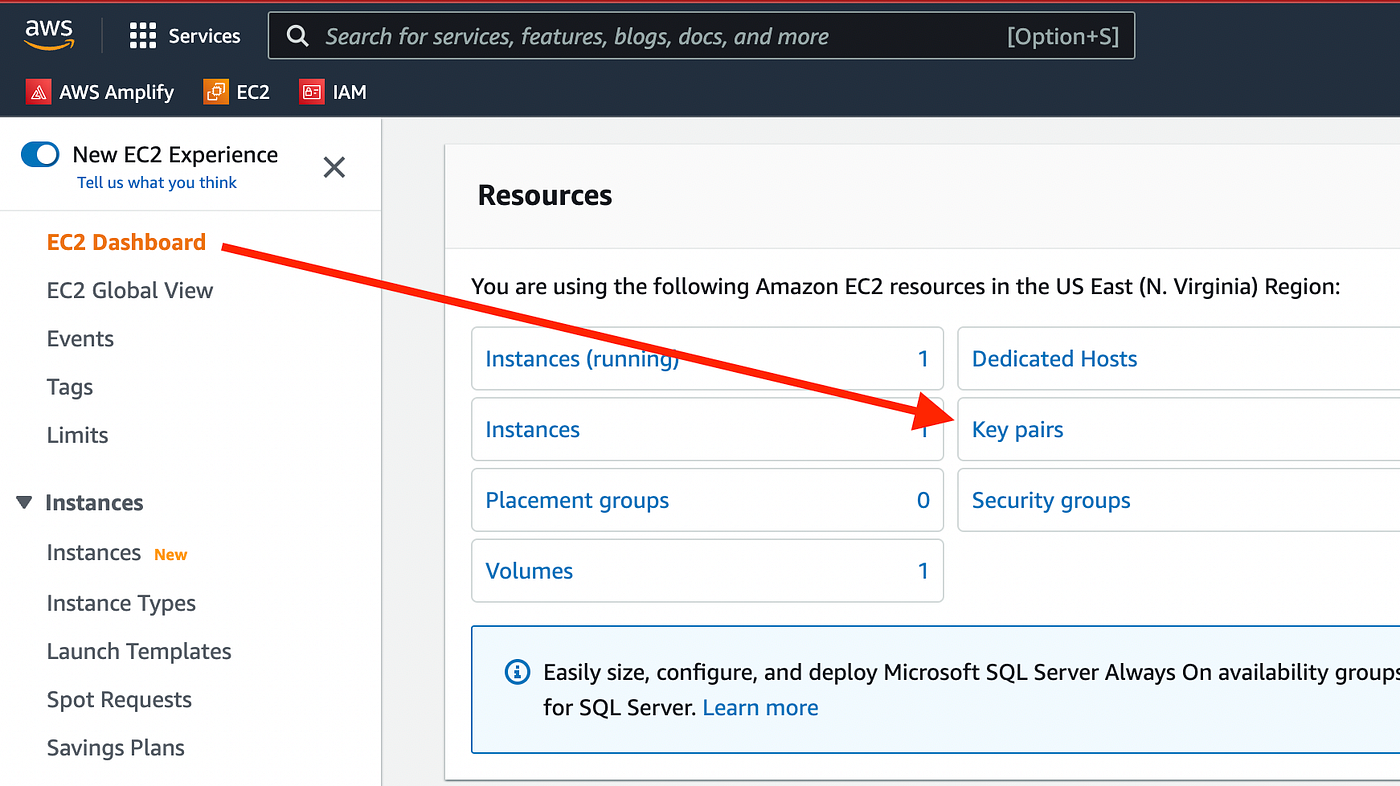
Step 1: Create EC2 Instance in AWS
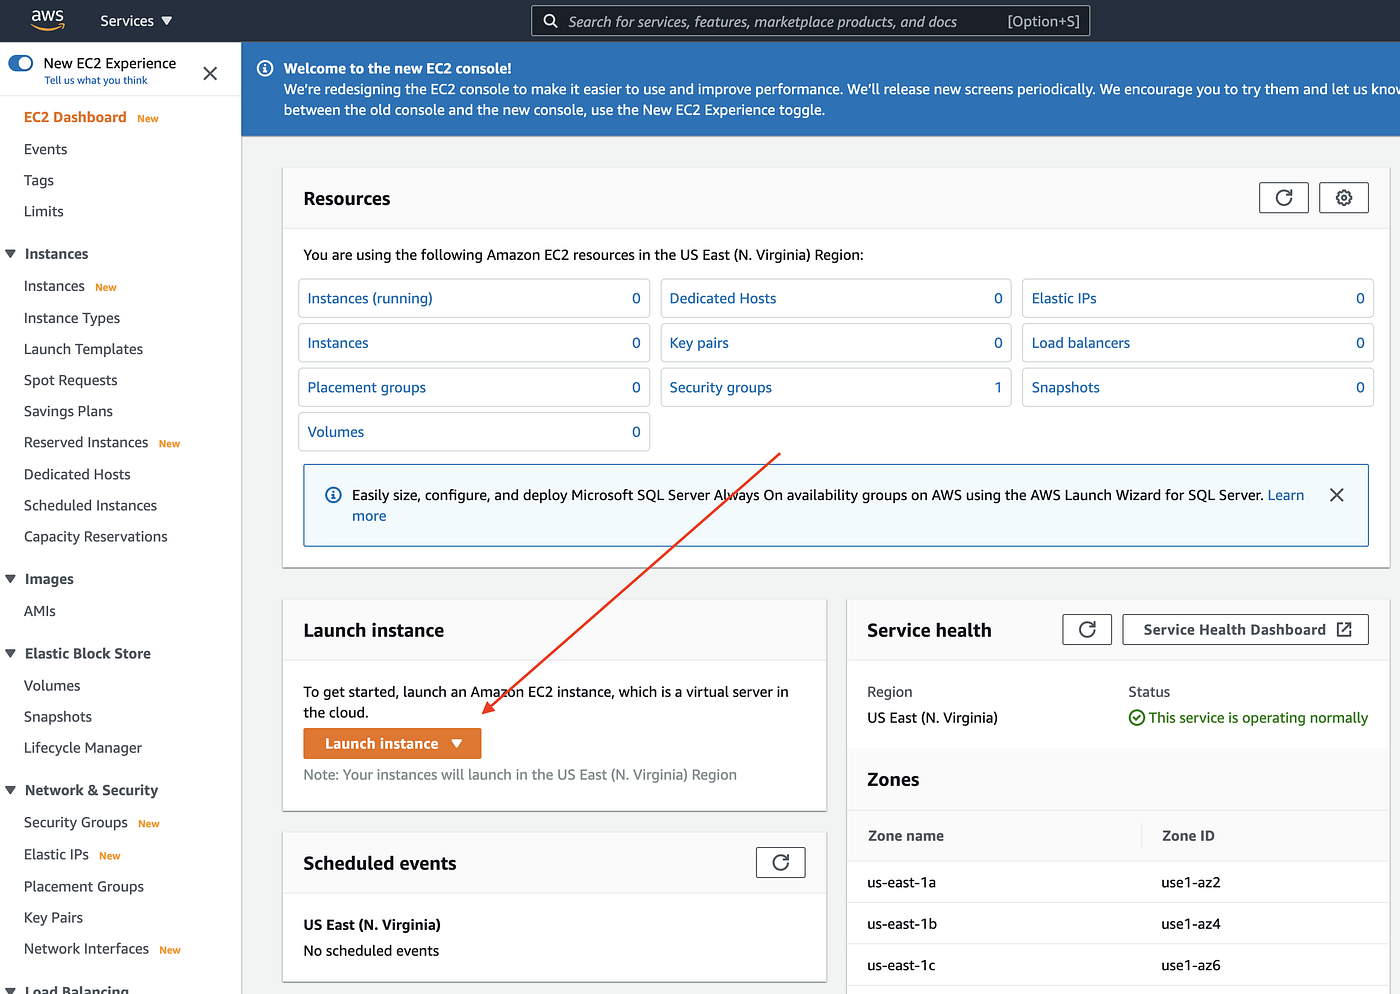
- Navigate to AWS EC2 and click "Launch an instance"
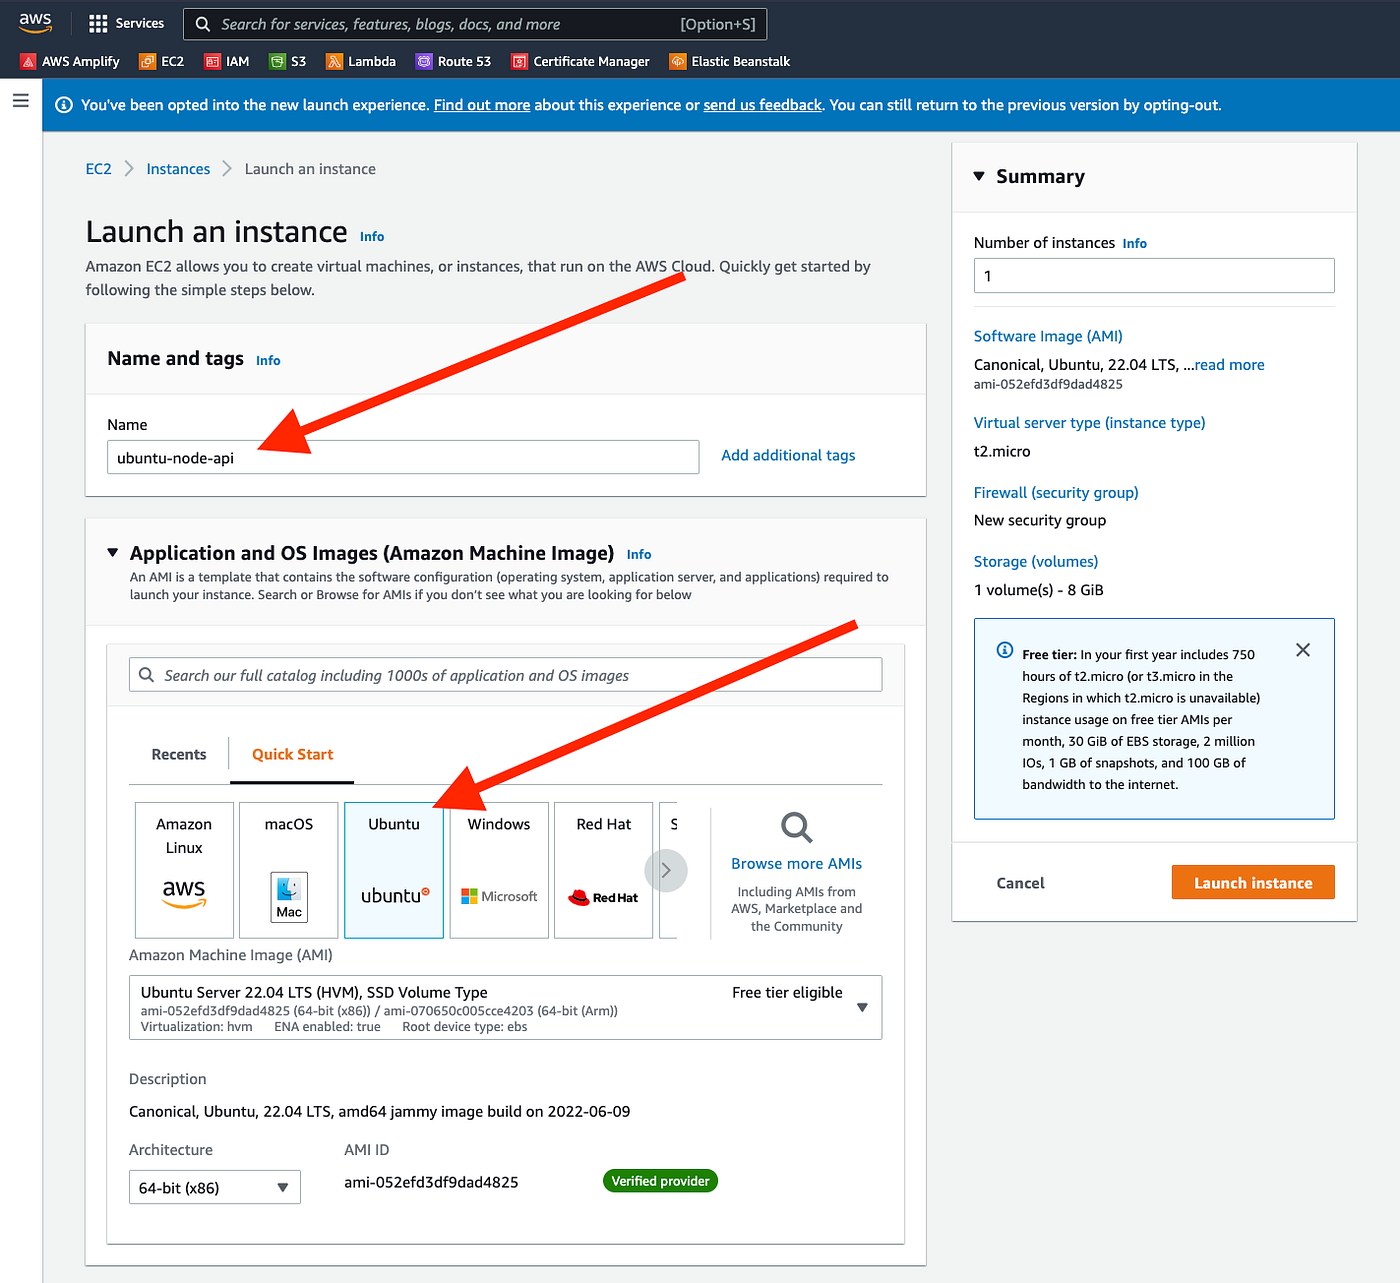
- Give your instance a name and select Ubuntu as the OS
- Confirm it's Free tier eligible
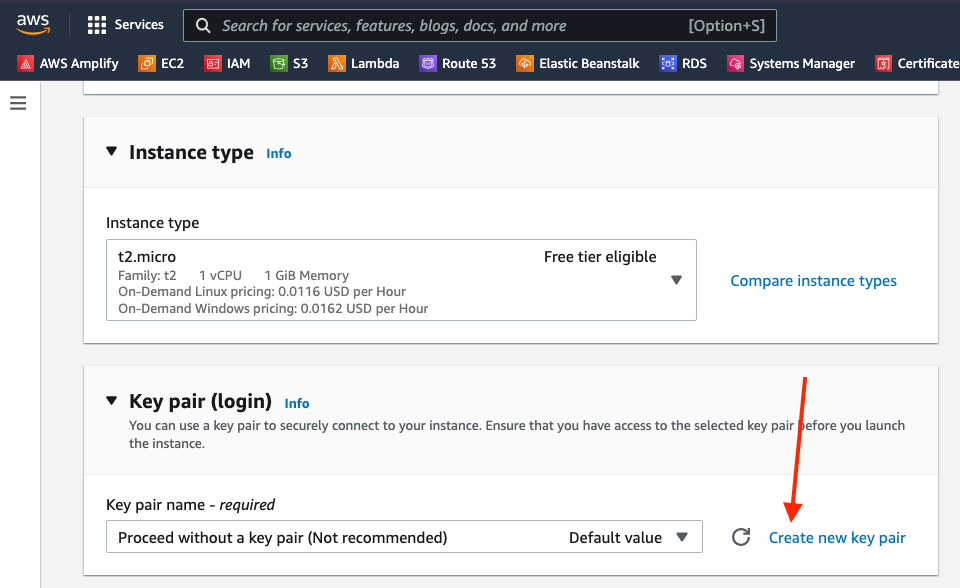
- Create a new Key Pair — this is the security certificate file you'll need for SSH access
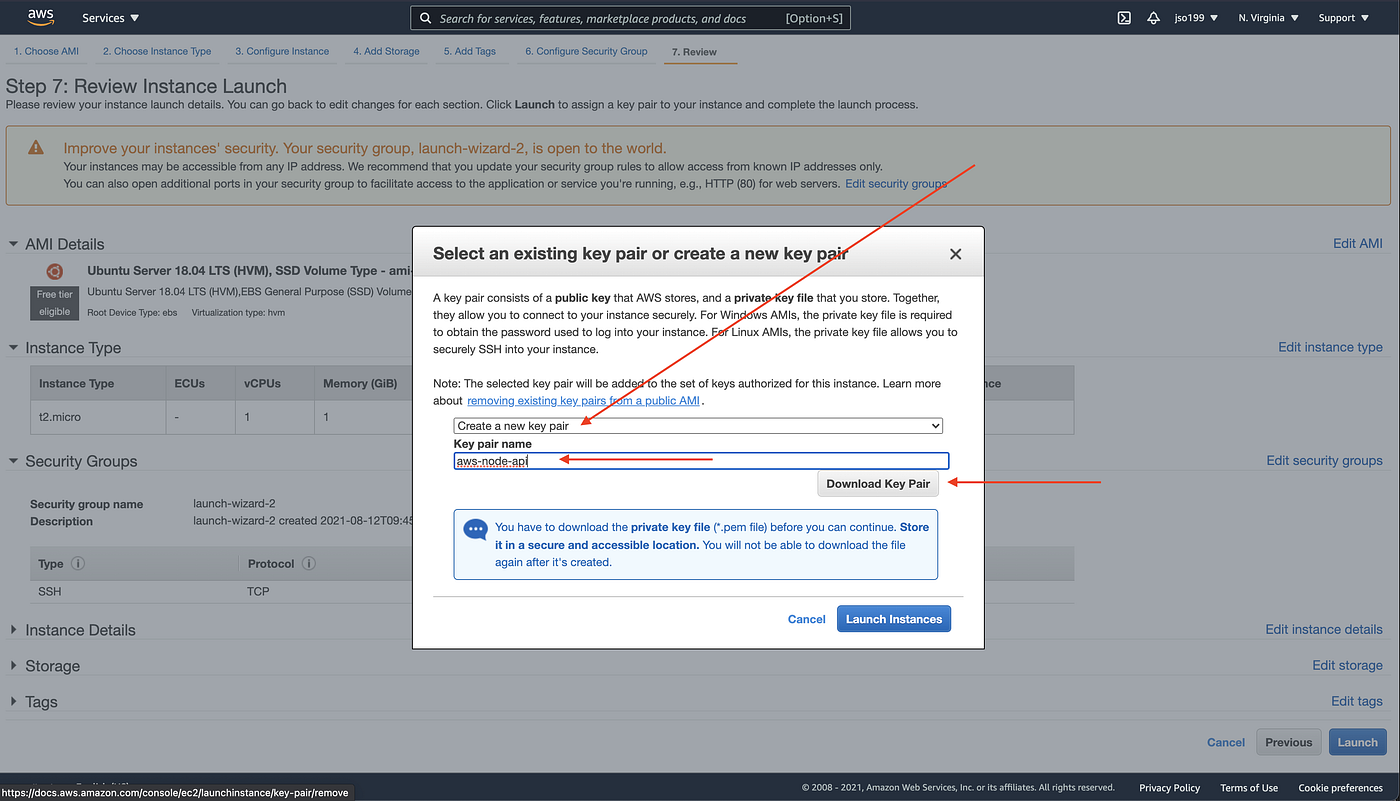
IMPORTANT: Download and securely save your Key Pair file (.cer or .pem) — you cannot download it again after creation. If you lose it, you won't be able to SSH into the instance.
- Leave the rest of the settings at defaults and click "Launch instance"
Step 2: Connect to EC2 Instance via SSH
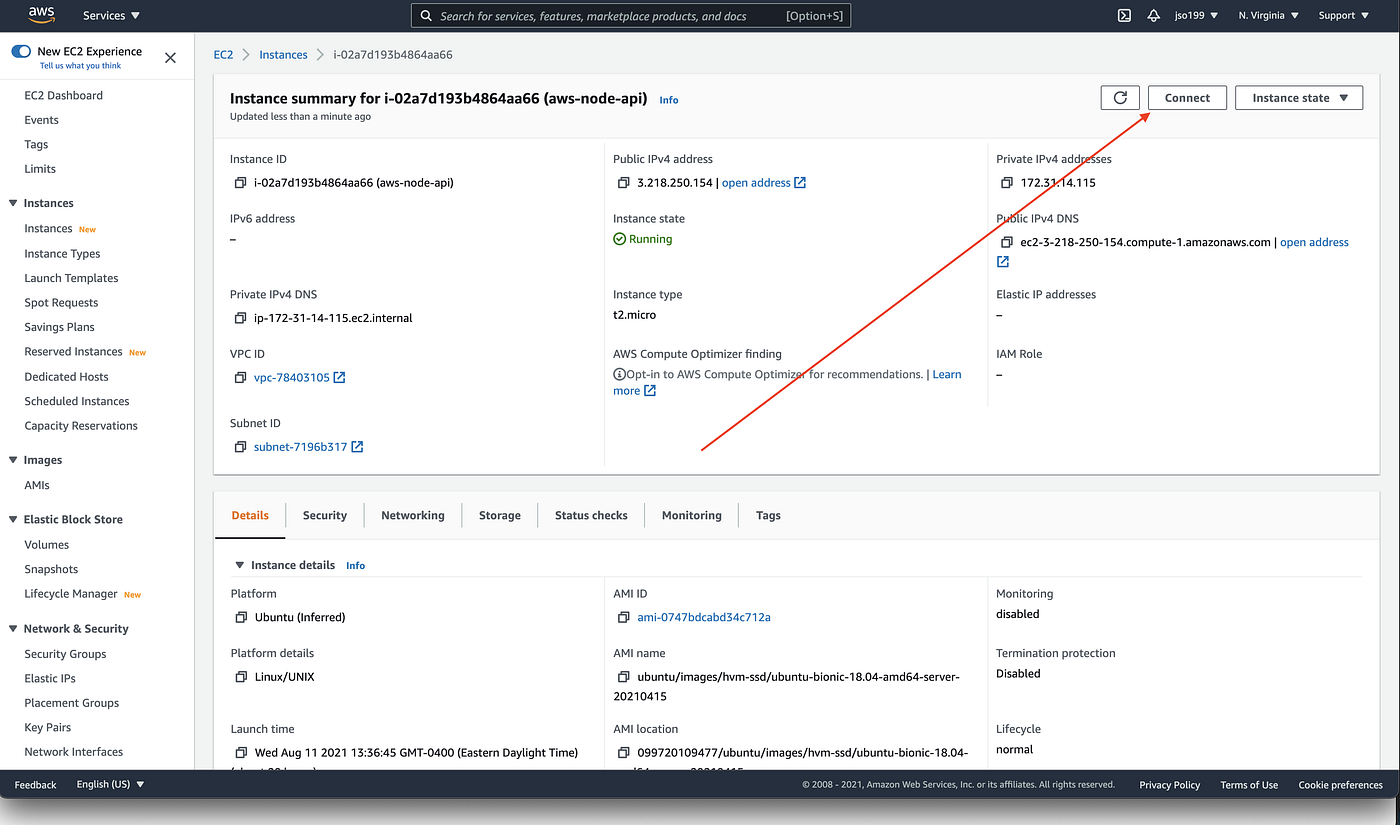
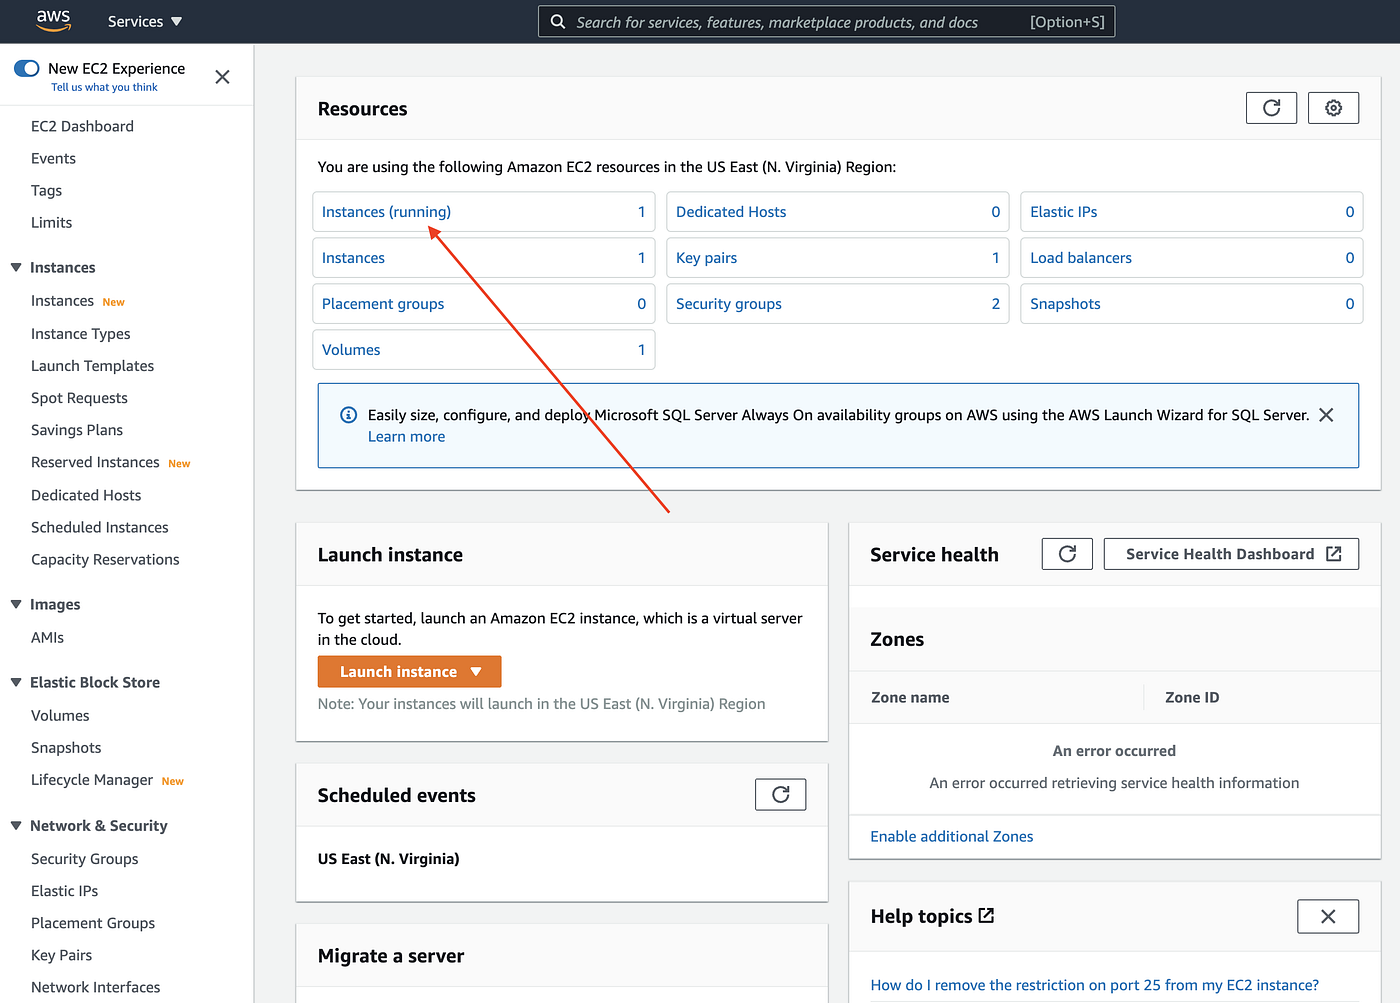
- Locate your running instance in the EC2 console
- Click "Connect" and select the SSH client tab
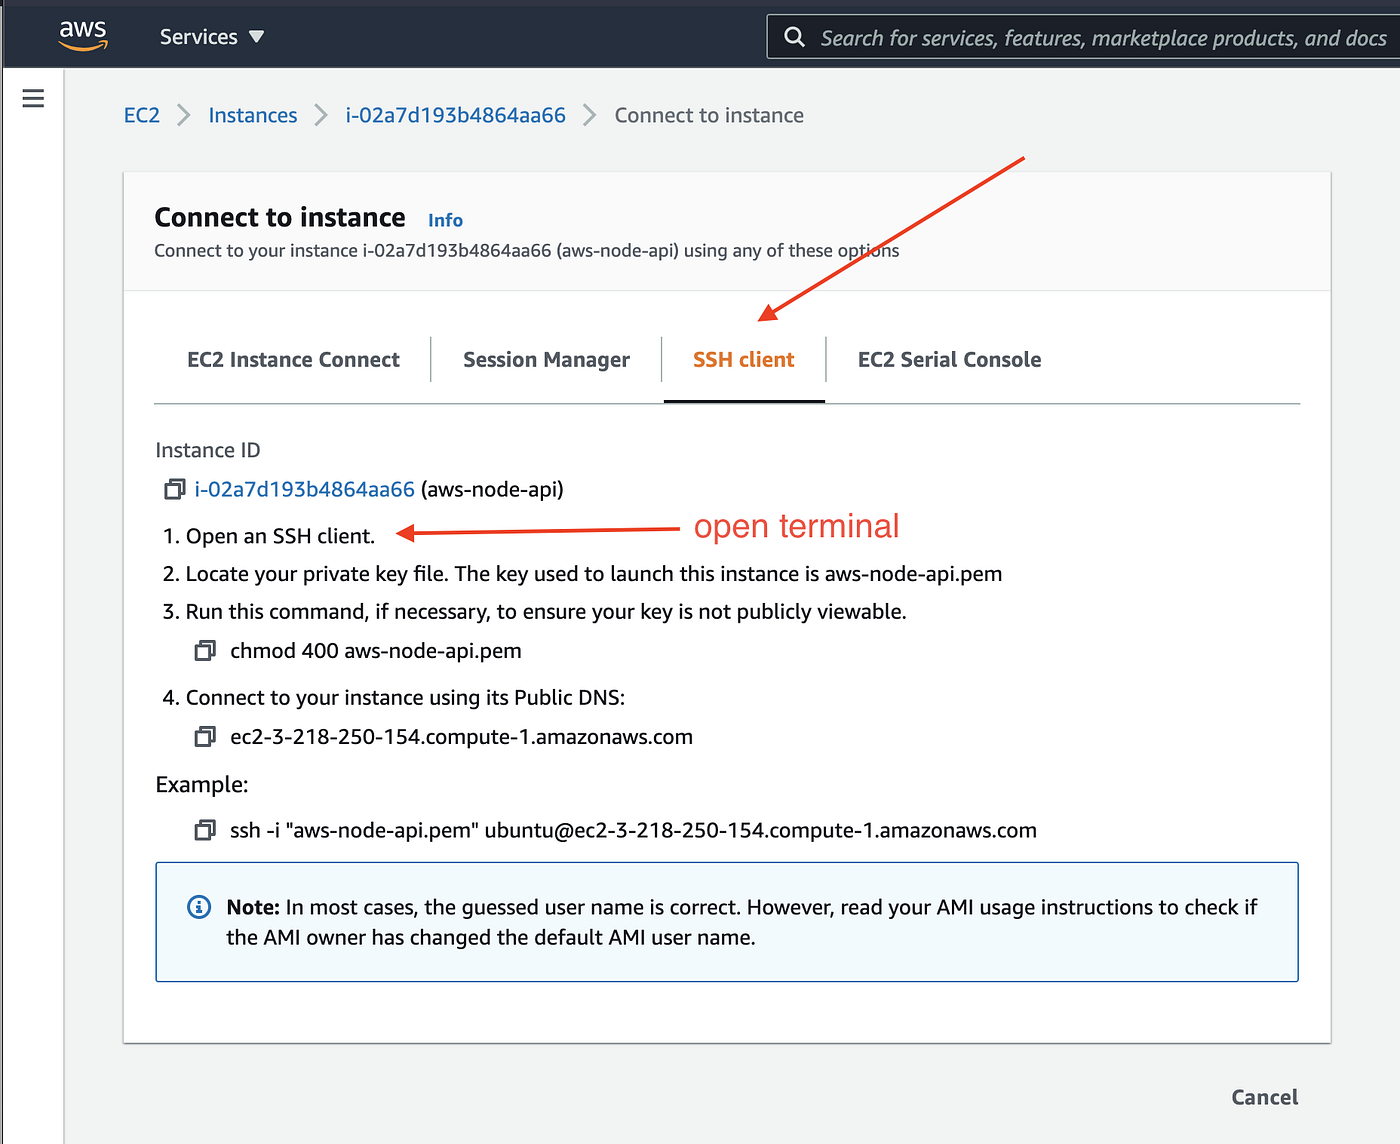
- AWS will show you the exact command to run — follow those instructions:
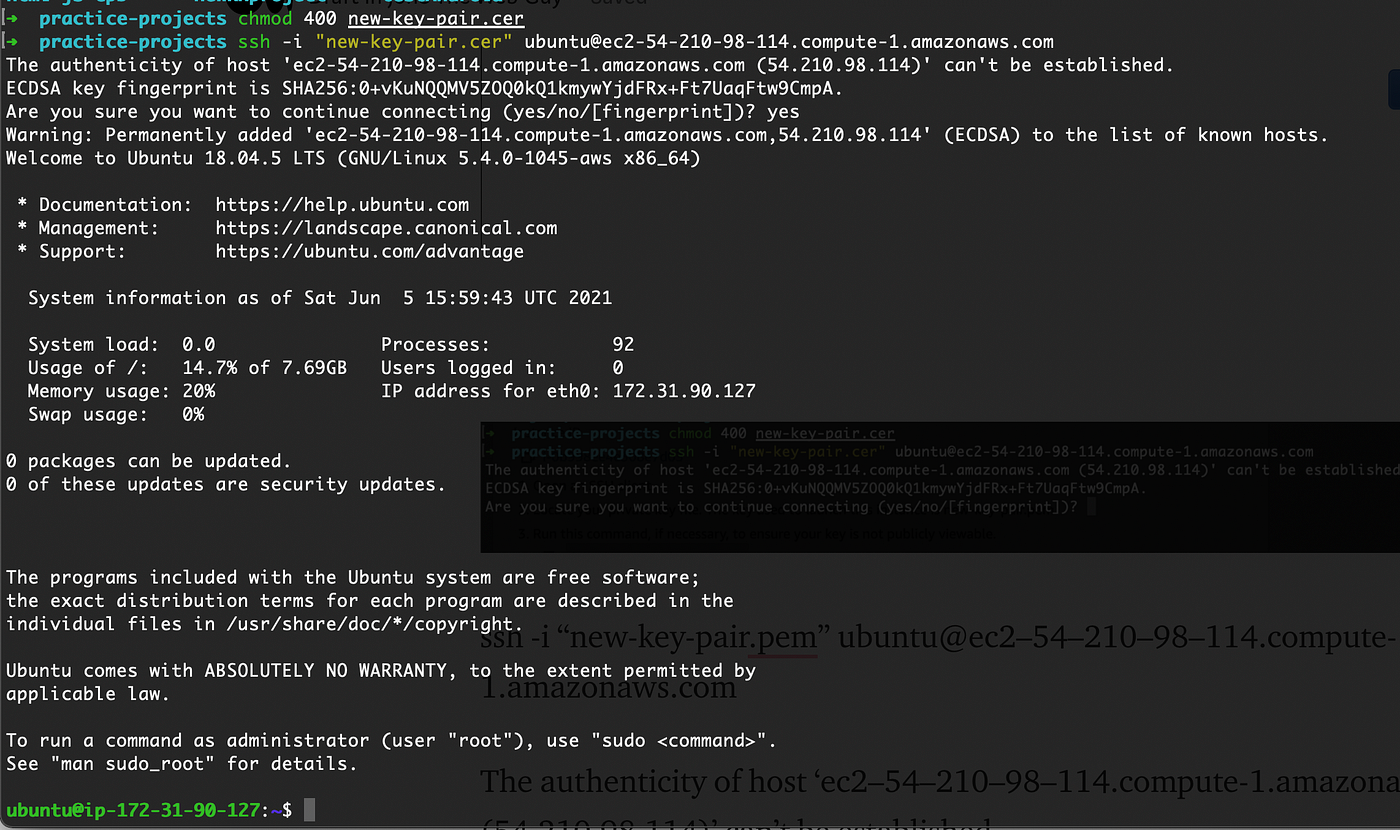
First, set correct permissions on your key file:
chmod 400 new-key-pair.cer

Then connect via SSH:
ssh -i "new-key-pair.cer" ubuntu@ec2-54-210-98-114.compute-1.amazonaws.com
- When prompted with "Are you sure you want to continue connecting?", type
yes
Step 3: Install Node and NPM on the EC2 Instance
Once connected, run these commands on the EC2 instance:
# Install curl
sudo apt-get install curl

# Download the Node.js setup script
curl -sL https://deb.nodesource.com/setup_16.x | sudo -E bash -

# Install Node.js
sudo apt-get install nodejs

# Verify installation
node -v
npm -v
Step 4: Clone Your API from GitHub
# Use HTTPS — not SSH — for cloning
git clone 'your-repo-link'

# Go into the cloned folder
cd your-repo-folder

# Install dependencies
npm install
Step 5: Configure Security Group to Allow API Traffic
- In the EC2 console, select your instance
- Go to the Security tab and click on the security group
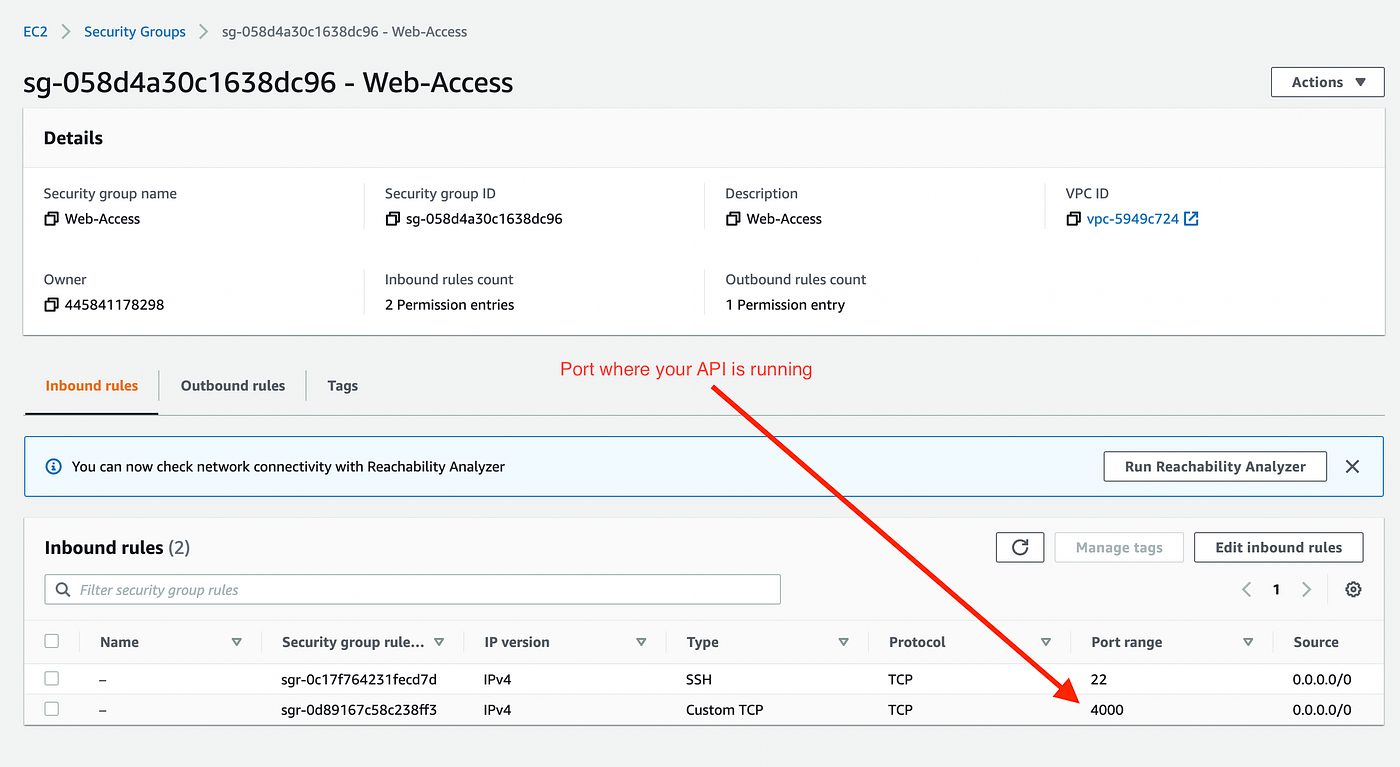
- Click "Edit inbound rules" → "Add rule"
- Set type to Custom TCP, port to whatever your API uses (e.g.,
4000), source to Anywhere (0.0.0.0/0) - Save the rule
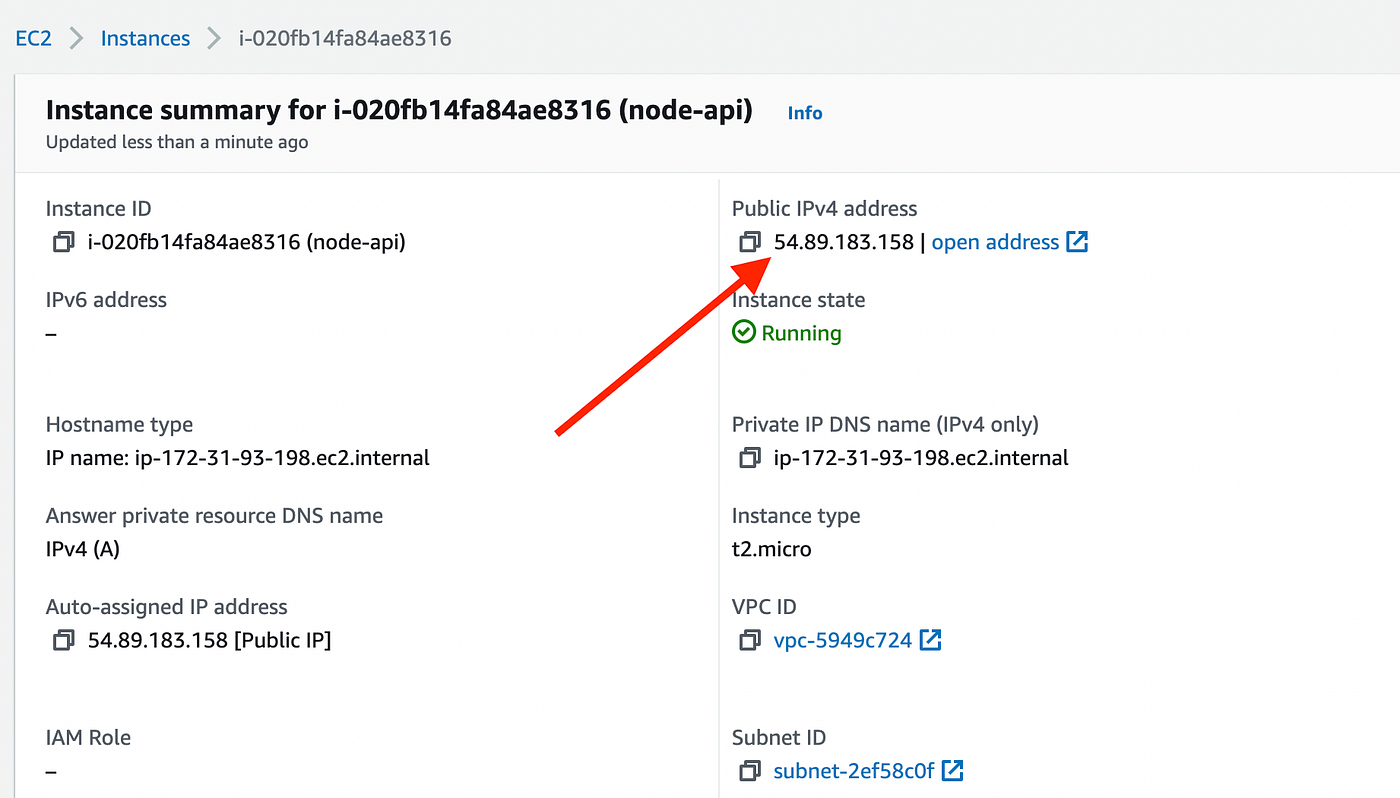
Find your instance's Public IPv4 address in the instance details panel. Your API will be reachable at:
http://[public-ip]:[port]/
Step 6: Test Your API
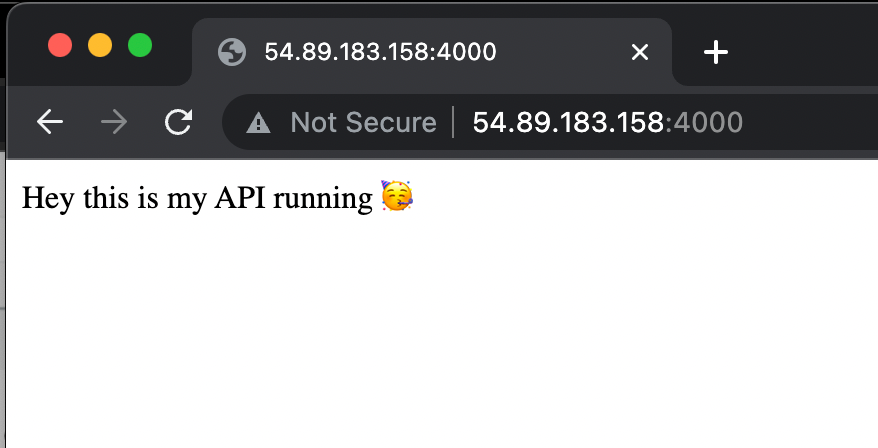
node your-folder/index.js
Open http://[public-ip]:4000/ in a browser to confirm it's responding.
Important: Keep Your API Running with PM2
The problem: The moment you close your terminal or disconnect from SSH, your node process dies. The API goes offline.
The solution: PM2 is a process manager that keeps your Node app running in the background — even after you disconnect, and even after the server reboots.
# Install PM2 globally
npm install pm2@latest -g

# Start your API with PM2
pm2 start your-folder/index.js

# Check that it's running
pm2 list

# Optional: configure PM2 to restart on server reboot
pm2 startup
pm2 save
[Screenshot: Terminal showing pm2 list output with the API process running and status "online"]
Once PM2 is managing your process, you can safely close your terminal. The API stays up.