Building a Swift Package to Burn Live Scoreboards into Recorded Sports Video
The Problem With "Just Overlay It in the UI"
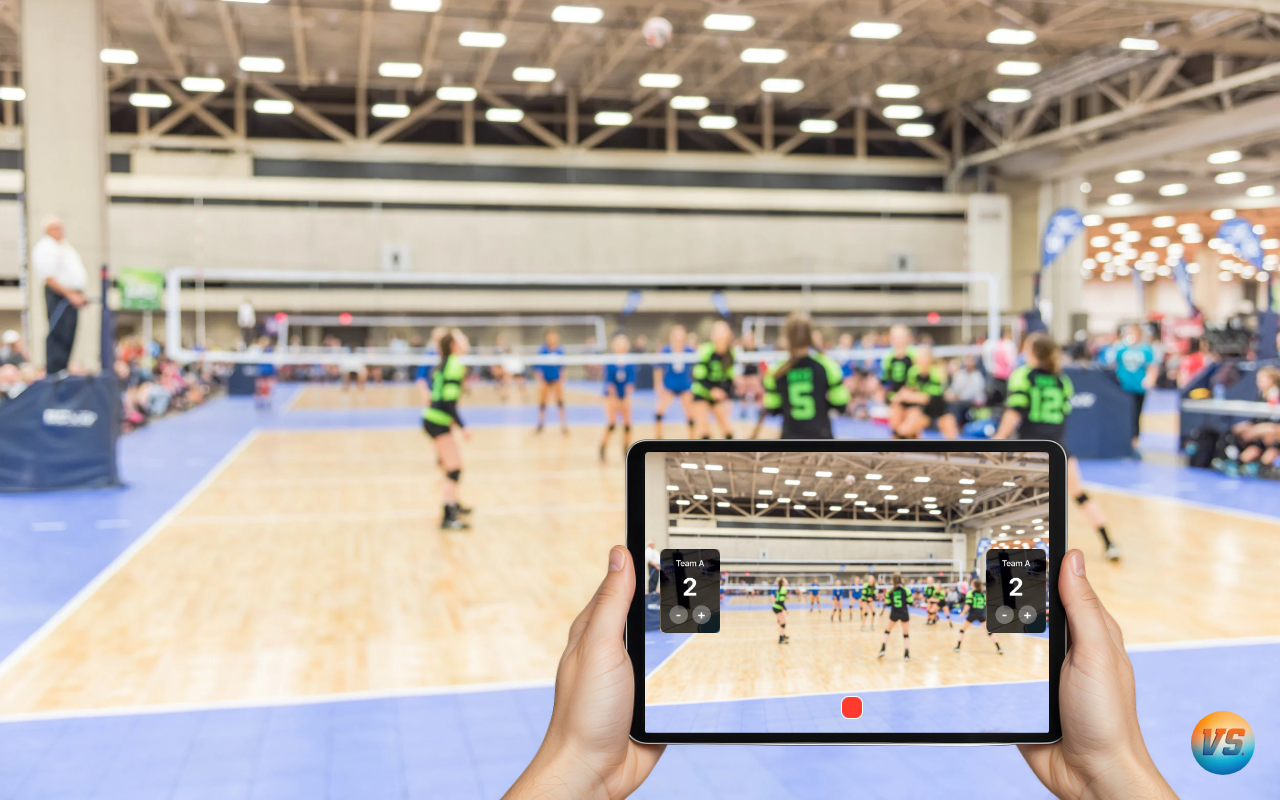
When I started building Varsity Score — a mobile app for recording sports games with live scores — the first instinct was the obvious one: record the video normally and draw the scoreboard on top in React Native. A <View> with some text, positioned absolutely over the camera preview. Simple.
The problem is that this approach produces two separate things: a raw video file with no scoreboard, and a UI that shows a scoreboard the viewer never sees in the recording. If you want the score burned into the video — every frame, every second, permanent — you can't do it in JavaScript. React Native has no API to intercept video frames. The camera rolls at 30fps through native buffers that the JS thread never touches.
The only way to do this is at the native layer, frame by frame, before the encoder ever sees the pixels.
This post walks through the custom Expo Swift module I built to solve this: how it captures frames, renders the score overlay with Core Graphics, and feeds a hardware H.264 encoder — all while React Native handles the UI and score input.
Architecture Overview
The module lives at modules/video-score-overlay/ inside a React Native (Expo SDK 54) project. The high-level flow looks like this:
Camera → AVCaptureSession → sampleBuffer delegate
           ↓
     Core Graphics renders score overlay onto pixel buffer
           ↓
     AVAssetWriter (H.264, 1280×720, 10 Mbps) → .mp4 file
React Native sits above all of this. The bridge exposes a clean API:
// Exposed from Swift to React Native
startRecording(options: RecordingOptions): Promise<void>
stopRecording(): Promise<{ filePath: string }>
updateScore(scoreData: ScoreData): void
setMuted(muted: boolean): void
Score updates are the only thing that flow through this bridge during an active recording. Everything else — frame capture, overlay rendering, encoding — happens entirely on native threads.
Capturing Frames with AVCaptureSession
The recording session is configured at userInteractive QoS on a dedicated serial queue. This matters because at 30fps you have ~33ms per frame to capture, composite, and hand off to the encoder. Preemption from lower-priority work is not acceptable here.
private let videoQueue = DispatchQueue(
    label: "com.varsityscore.videoQueue",
    qos: .userInteractive
)

private func setupCaptureSession() {
    captureSession = AVCaptureSession()
    captureSession.sessionPreset = .hd1280x720

    guard let device = AVCaptureDevice.default(
        .builtInWideAngleCamera, for: .video, position: .back
    ),
    let input = try? AVCaptureDeviceInput(device: device) else { return }

    captureSession.addInput(input)

    let videoOutput = AVCaptureVideoDataOutput()
    videoOutput.videoSettings = [
        kCVPixelBufferPixelFormatTypeKey as String: kCVPixelFormatType_32BGRA
    ]
    videoOutput.setSampleBufferDelegate(self, queue: videoQueue)
    videoOutput.alwaysDiscardsLateVideoFrames = false

    captureSession.addOutput(videoOutput)
}
32BGRA is the format Core Graphics works with natively. Requesting it directly from AVCaptureVideoDataOutput avoids a pixel format conversion on every frame, which would add measurable overhead at 30fps.
The Frame Processing Pipeline
Every frame arrives in captureOutput(_:didOutput:from:). This is where the work happens:
func captureOutput(
    _ output: AVCaptureOutput,
    didOutput sampleBuffer: CMSampleBuffer,
    from connection: AVCaptureConnection
) {
    guard isRecording,
          let pixelBuffer = CMSampleBufferGetImageBuffer(sampleBuffer) else { return }

    // 1. Draw the overlay onto the pixel buffer in-place
    renderOverlayOntoBuffer(pixelBuffer)

    // 2. Hand off to the asset writer
    if assetWriterInput?.isReadyForMoreMediaData == true {
        adaptor?.append(pixelBuffer, withPresentationTime: CMSampleBufferGetPresentationTimeStamp(sampleBuffer))
    }
}
The key decision here is that the overlay is rendered in-place on the pixel buffer. There's no copy — the same buffer that comes from the camera gets drawn on and handed directly to the encoder. This keeps memory allocations minimal.
Rendering the Score Overlay with Core Graphics
This is the heart of the module. Every frame that reaches the encoder carries a lower-third banner with team names, scores, set number, and a timestamp. The overlay is a 460×36px strip positioned near the bottom of the frame.
private func renderOverlayOntoBuffer(_ pixelBuffer: CVPixelBuffer) {
    // Use cached overlay image if score hasn't changed
    if cachedOverlayImage == nil {
        cachedOverlayImage = buildOverlayImage()
    }

    CVPixelBufferLockBaseAddress(pixelBuffer, [])
    defer { CVPixelBufferUnlockBaseAddress(pixelBuffer, []) }

    let width = CVPixelBufferGetWidth(pixelBuffer)
    let height = CVPixelBufferGetHeight(pixelBuffer)
    let bytesPerRow = CVPixelBufferGetBytesPerRow(pixelBuffer)
    let baseAddress = CVPixelBufferGetBaseAddress(pixelBuffer)

    let colorSpace = CGColorSpaceCreateDeviceRGB()
    guard let context = CGContext(
        data: baseAddress,
        width: width,
        height: height,
        bitsPerComponent: 8,
        bytesPerRow: bytesPerRow,
        space: colorSpace,
        bitmapInfo: CGImageAlphaInfo.premultipliedFirst.rawValue | CGBitmapInfo.byteOrder32Little.rawValue
    ) else { return }

    // Position the overlay 20px from the bottom-left
    let overlayRect = CGRect(x: 20, y: 20, width: 460, height: 36)
    if let overlay = cachedOverlayImage {
        context.draw(overlay, in: overlayRect)
    }

    // Watermark: app logo, top-right corner, 35% opacity
    if let logo = appLogoImage {
        context.setAlpha(0.35)
        let logoRect = CGRect(x: CGFloat(width) - 48, y: CGFloat(height) - 48, width: 28, height: 28)
        context.draw(logo, in: logoRect)
        context.setAlpha(1.0)
    }
}
The overlay image itself is built once and cached:
private func buildOverlayImage() -> CGImage? {
    let size = CGSize(width: 460, height: 36)
    UIGraphicsBeginImageContextWithOptions(size, false, 1.0)
    guard let ctx = UIGraphicsGetCurrentContext() else { return nil }

    // Dark semi-transparent background
    ctx.setFillColor(UIColor(white: 0, alpha: 0.72).cgColor)
    ctx.fill(CGRect(origin: .zero, size: size))

    // 2px orange accent line along the top
    ctx.setFillColor(UIColor(red: 1.0, green: 0.45, blue: 0.0, alpha: 1.0).cgColor)
    ctx.fill(CGRect(x: 0, y: 0, width: 460, height: 2))

    // Team A name + score (left section, dark box)
    let leftBox = CGRect(x: 4, y: 4, width: 160, height: 28)
    ctx.setFillColor(UIColor(white: 0.1, alpha: 0.9).cgColor)
    ctx.fill(leftBox)
    drawText(ctx, text: teamAName, rect: CGRect(x: 8, y: 8, width: 100, height: 20), alignment: .left)
    drawText(ctx, text: "\(teamAScore)", rect: CGRect(x: 120, y: 8, width: 40, height: 20), alignment: .right)

    // Center: set number + date/time
    let centerLabel = "SET \(currentSet)  •  \(currentTimestamp)"
    drawText(ctx, text: centerLabel, rect: CGRect(x: 170, y: 10, width: 120, height: 16), alignment: .center, fontSize: 10)

    // Team B score + name (right section, dark box)
    let rightBox = CGRect(x: 296, y: 4, width: 160, height: 28)
    ctx.setFillColor(UIColor(white: 0.1, alpha: 0.9).cgColor)
    ctx.fill(rightBox)
    drawText(ctx, text: "\(teamBScore)", rect: CGRect(x: 300, y: 8, width: 40, height: 20), alignment: .left)
    drawText(ctx, text: teamBName, rect: CGRect(x: 348, y: 8, width: 104, height: 20), alignment: .right)

    let image = UIGraphicsGetImageFromCurrentImageContext()
    UIGraphicsEndImageContext()
    return image?.cgImage
}
The layout reads left to right: Team A name | Team A score | SET N • timestamp | Team B score | Team B name. The orange line at the top ties it visually to the app's brand color.
The Caching Trick That Makes 30fps Possible
Here's the optimization that matters most: cachedOverlayImage is only cleared when the score actually changes. Not every frame. Not on a timer.
// Called from the React Native bridge
@objc func updateScore(_ scoreData: NSDictionary) {
    lock.lock()
    teamAName = scoreData["teamAName"] as? String ?? teamAName
    teamAScore = scoreData["teamAScore"] as? Int ?? teamAScore
    teamBName = scoreData["teamBName"] as? String ?? teamBName
    teamBScore = scoreData["teamBScore"] as? Int ?? teamBScore
    currentSet = scoreData["set"] as? Int ?? currentSet

    // Invalidate the cached image — next frame will rebuild it
    cachedOverlayImage = nil
    lock.unlock()
}
A typical volleyball game might have 300 score changes over 90 minutes. The overlay is re-rendered 300 times. The encoder runs 162,000 frames. The Core Graphics work happens 0.2% of the time — the other 99.8% of frames just composite a cached CGImage that's already in memory.
Without this cache, the overhead of buildOverlayImage() on every frame at 30fps would blow the 33ms frame budget and cause the encoder to drop frames.
H.264 Encoding — Optimized for Speed, Not Size
The encoder uses AVAssetWriter with settings tuned for low-latency capture rather than maximum compression:
private func setupAssetWriter(outputURL: URL) throws {
    assetWriter = try AVAssetWriter(outputURL: outputURL, fileType: .mp4)

    let videoSettings: [String: Any] = [
        AVVideoCodecKey: AVVideoCodecType.h264,
        AVVideoWidthKey: 1280,
        AVVideoHeightKey: 720,
        AVVideoCompressionPropertiesKey: [
            AVVideoAverageBitRateKey: 10_000_000,           // 10 Mbps
            AVVideoMaxKeyFrameIntervalKey: 60,               // keyframe every 2s at 30fps
            AVVideoAllowFrameReorderingKey: false,           // no B-frames
            AVVideoH264EntropyModeKey: AVVideoH264EntropyModeCAVLC, // faster than CABAC
            AVVideoExpectedSourceFrameRateKey: 30,
        ]
    ]

    assetWriterInput = AVAssetWriterInput(mediaType: .video, outputSettings: videoSettings)
    assetWriterInput?.expectsMediaDataInRealTime = true

    adaptor = AVAssetWriterInputPixelBufferAdaptor(
        assetWriterInput: assetWriterInput!,
        sourcePixelBufferAttributes: [
            kCVPixelBufferPixelFormatTypeKey as String: kCVPixelFormatType_32BGRA,
            kCVPixelBufferWidthKey as String: 1280,
            kCVPixelBufferHeightKey as String: 720,
        ]
    )

    assetWriter?.add(assetWriterInput!)
}
Two decisions worth calling out:
No B-frames (AVVideoAllowFrameReorderingKey: false). B-frames require the encoder to look ahead in the frame sequence, which introduces latency and reordering complexity. For live capture you want I-frames and P-frames only — encode what you have and move on.
CAVLC entropy coding. CAVLC (Context-Adaptive Variable-Length Coding) is faster to encode than CABAC (Context-Adaptive Binary Arithmetic Coding), at a small cost to compression efficiency. At 10 Mbps target bitrate, compression efficiency isn't the constraint — encoder throughput is.
Thread Safety: NSLock Around stopRecording
There's one race condition that bit me during testing: calling stopRecording while the frame delegate is mid-render. AVAssetWriter will throw if you call finishWriting while append(_:withPresentationTime:) is in flight.
The fix is an NSLock around the recording lifecycle:
private let lock = NSLock()

func stopRecording(resolve: @escaping RCTPromiseResolveBlock, reject: @escaping RCTPromiseRejectBlock) {
    lock.lock()
    isRecording = false
    lock.unlock()

    assetWriterInput?.markAsFinished()
    assetWriter?.finishWriting { [weak self] in
        guard let self = self else { return }
        if self.assetWriter?.status == .completed {
            resolve(["filePath": self.outputURL?.path ?? ""])
        } else {
            reject("ENCODE_ERROR", self.assetWriter?.error?.localizedDescription, nil)
        }
    }
}

// In the frame delegate:
func captureOutput(...) {
    lock.lock()
    let recording = isRecording
    lock.unlock()

    guard recording else { return }
    // ... rest of frame processing
}
NSLock is appropriate here because the critical section is tiny — just reading or setting a Bool — and the lock is never held across async work. The overhead is negligible at 30fps.
The React Native Side
From the React Native layer, none of this complexity is visible. The bridge surface is minimal:
import VideoScoreOverlay from '../modules/video-score-overlay';

// Start recording when the user taps record
const handleRecord = async () => {
  await VideoScoreOverlay.startRecording({
    outputPath: `${FileSystem.cacheDirectory}game_${Date.now()}.mp4`,
  });
  setIsRecording(true);
};

// When a point is scored:
const handleScoreUpdate = (team: 'a' | 'b') => {
  const updated = team === 'a'
    ? { ...score, teamAScore: score.teamAScore + 1 }
    : { ...score, teamBScore: score.teamBScore + 1 };

  setScore(updated);
  VideoScoreOverlay.updateScore(updated);  // fire-and-forget, no await needed
};

// Stop recording and get the file path
const handleStop = async () => {
  const result = await VideoScoreOverlay.stopRecording();
  setIsRecording(false);
  navigation.navigate('Preview', { filePath: result.filePath });
};
updateScore is synchronous on the JS side — it queues the update on the native video queue and returns immediately. The user taps +1 and the next frame that gets encoded has the new score. No awaiting, no async state that could get out of sync with the frame pipeline.
What I'd Do Differently
Pixel buffer pool. The current implementation relies on Core Video's internal buffer management, but for production I'd set up an explicit CVPixelBufferPool to pre-allocate buffers at session start. Under memory pressure, Core Video's allocator can stall frame delivery. A pool makes that behavior deterministic.
Timestamp in the overlay vs. system time. Right now the timestamp shown in the scoreboard is derived from Date() inside buildOverlayImage(). This is fine for most games, but if the device clock jumps (daylight saving, NTP sync) mid-recording, the overlay timestamp and the file's presentation timestamps will be slightly inconsistent. A better approach is to derive the timestamp from the CMSampleBuffer's presentation time.
CABAC instead of CAVLC. CABAC provides better compression at the same bitrate, at the cost of slower encoding. At 10 Mbps the difference is small, but for longer games where file size matters, it could be worth the tradeoff.
The Result
Every recording from Varsity Score is a self-contained video with the scoreboard permanently embedded. No post-processing, no separate data file to merge, no app needed to view it. You can AirDrop it, upload it to YouTube, or text it to a parent — and the score is right there in the video.
The architecture that makes this work: Core Graphics renders once per score change, not once per frame. A dedicated native thread at userInteractive QoS handles capture and encoding within the 33ms frame budget. The JS thread only handles user input — tapping +1 on a score.
If you're building a React Native app that needs to do anything serious with video frames — overlays, filters, real-time effects — this is the pattern. The JS bridge is for UI events and configuration. Frame processing has to live in native code.